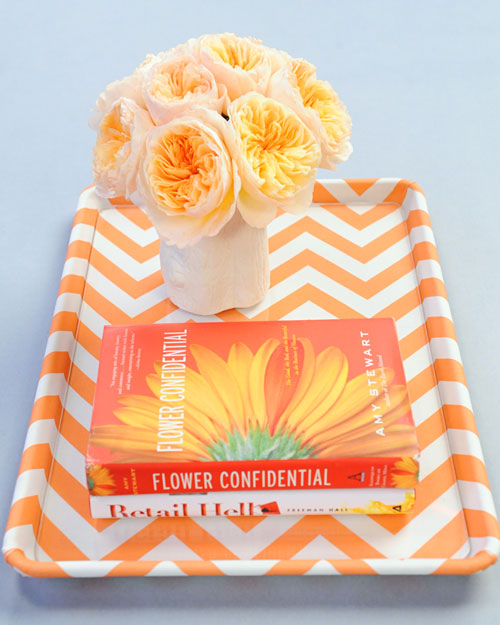
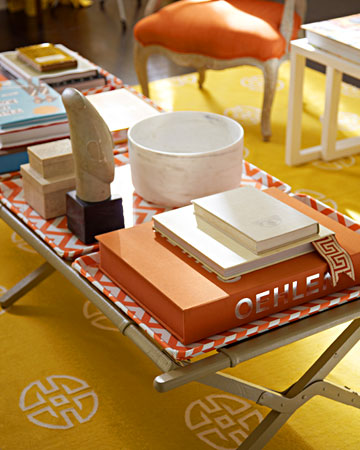
You may have caught on that we are obsessing over the Chevron pattern lately. Who'd have thought that after all those years of staring at the Chevron gas station sign, it would materialize into something so pretty?! In the spirit of spring cleaning, moving & getting organized, this saucy little chevron printed tray started calling our names...

So naturally, we must obey and attempt to D.I.O.S {Do It Our Self}... and if you'd like to D.I.Y, here is the how to:
You'll need:
1 yard decorative fabric
Aluminum rimmed baking sheet {yes, a COOKIE SHEET!}
Spray adhesive
Scissors
Fabric glue
Synthetic felt
1/4-inch-thick acrylic sheet cut to fit inside of tray, with corners rounded

{the hardest part might be choosing the fabric!}
"How to":
1. Cut fabric large enough to cover the front and wrap around the back of the baking tray. Cover the front of the tray with spray adhesive.
2. Place fabric on tray so pattern is aligned, leaving enough room to wrap fabric around all sides to the back. Smooth fabric onto tray, pressing out any bubbles.
3. Pull any extra material into corner and push around the edge. Turn tray over. Cover the back of the tray with spray adhesive.
4. Press the fabric over two edges of the tray first, then fold in on each remaining side, as if wrapping a gift. Trim any excess fabric with scissors. Use fabric glue to secure, if needed.
5. Cut a piece of felt to fit the back of the tray and conceal fabric edges. Smooth felt on the back the tray.
6. Place acrylic sheet in center of tray.

*Photos courtesy of Martha Stewart; Premier Fabrics
