This purse... {sigh}. Timeless beauty, fashion and elegance. Thank you, Louis Vuitton.
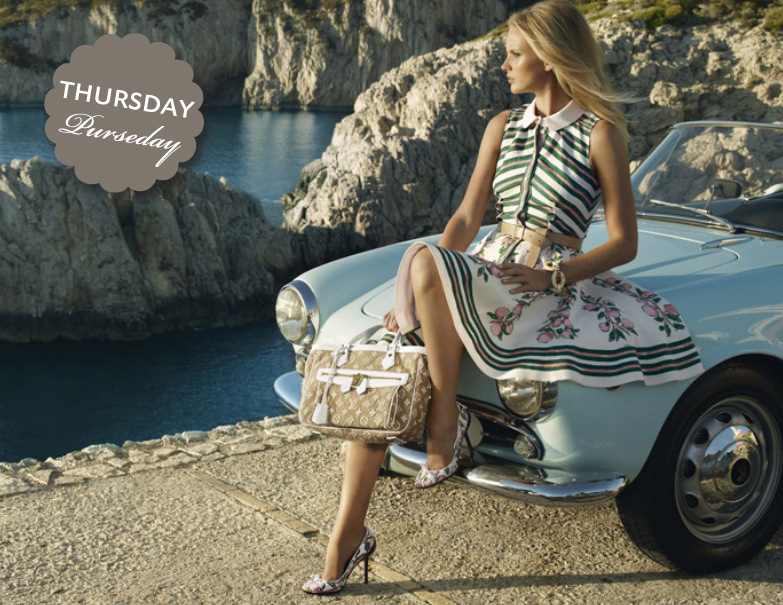 *Photo courtesy of Louis Vuitton website
A little Vineyard Vines touch
One of our favorite weddings of 2010 brought the opportunity for Paper Moss to work with a classic New England brand, Vineyard Vines. By now, you have got to know how much we thrive on customizing things. When the opportunity came about to customize ties for one of our grooms and his groomsmen, see the classic, preppy and sentimental spin it put on this idyllic wedding.
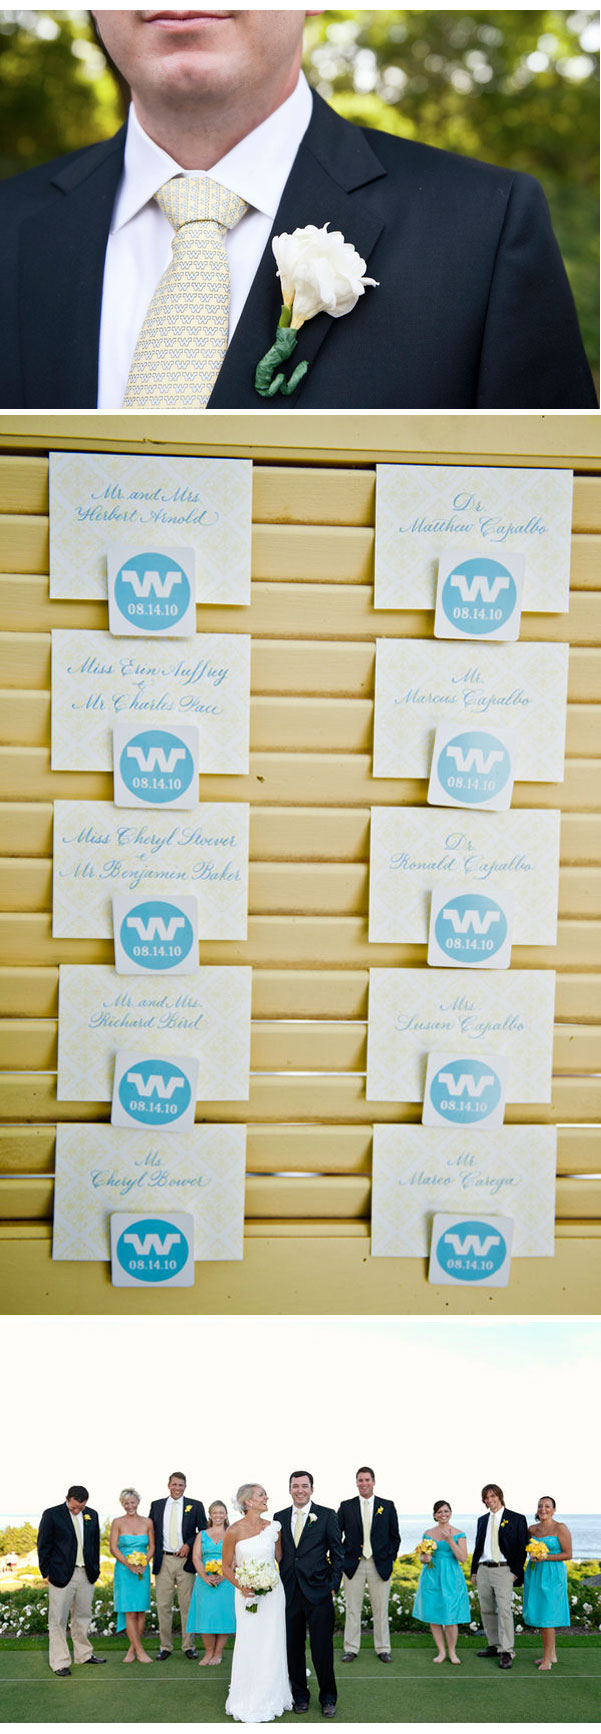
What a gorgeous group of people! To see more of Abby & Andrew's big day, check out our previous post.
Interested in having custom ties for your wedding? Don't hesitate to ask us how to make it happen!!! The possibilities are endless...
*Photos courtesy of Leila Brewster Photography ; Wedding coordinated by TRUE Event
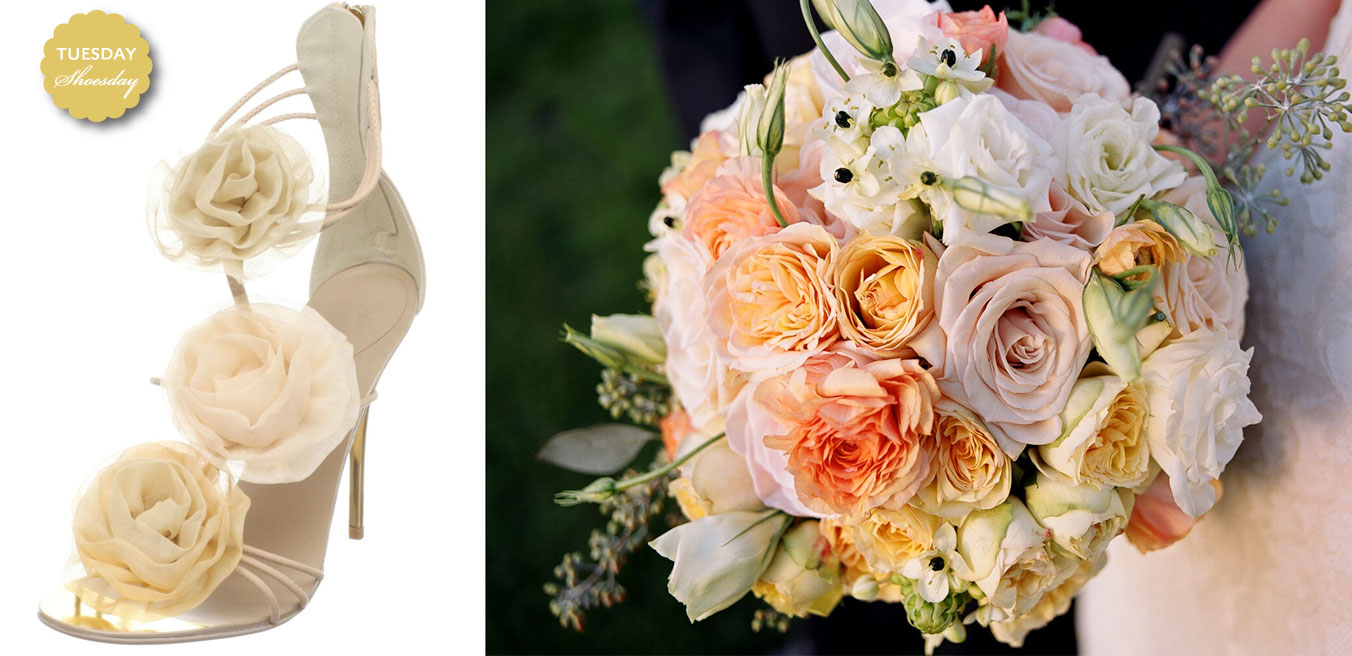
Flowers for Feet
This shoe can't help but catch your attention with its beautiful floral accents and delicate heel. Paired next to this gorgeous bouquet by Studio 539 Flowers, why not add some flowers to your feet : ). Get your own Giuseppe Strappy Sandal here. Happy Tuesday Shoesday everyone!
Hello, Spring!
With spring on the way and Easter around the corner {count 'em: 13 days!} we can't resist all things that represent the season. Pastel colors, sun dresses, Easter eggs, festively shaped chocolates and baked goods! Not only are these a few of our favorite things, but there is something so inspiring, hopeful and redeeming about this time of year! Here are some ways to add a little springtime flare into your home...


 {via Tag}

Happy Spring!!!
Dance, dance!
Congratulations! We made it though another week. Who is doing something fun this weekend?

We feel a little bit giddy about having a few days to relax, so giddy that we could bust a move.... or even try making a fabulous new drink recipe? Perhaps replicating the Cucumber Martini we tried earlier this week? Sounds refreshing and perfect for a Spring weekend.
Happy Friday!
xo
*Photo courtesy of Pink Wallpaper
Naturally neutral & better with bling
This bag is just perfect. Seriously; it's neutral, versatile, practical and has just enough sparkly bling to turn heads without causing people to {awkwardly} stare. Thanks to the buyers at Anthropologie, you can find this fabulous Big Bang Bag at a local store or online. We might find ourselves wandering over to try it on later today...??

Happy Thursday everyone!
*Photo courtesy of Anthropologie
DIY: precious place cards
There is something so satisfying about embarking on a DIY journey and knowing that the delicious outcome is in your hands. Those of you who love to have that personal touch on your events {be it a bridal shower, wedding or birthday party} you'll adore these vintage award ribbon place cards. Thank you, Laurie Cinotto and Once Wed for passing the inspiration!

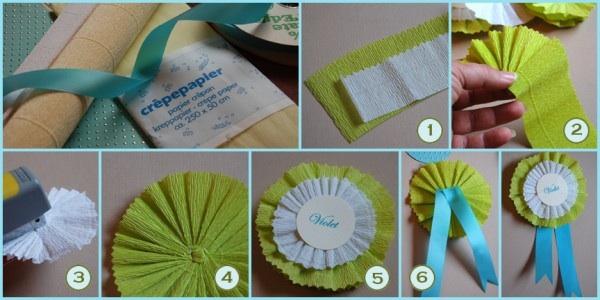
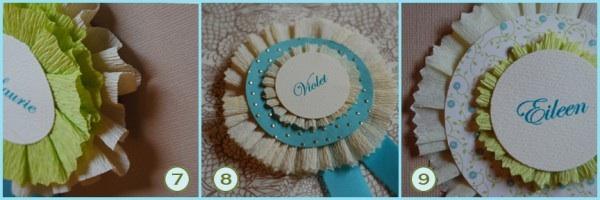
*Photos courtesy of Once Wed
Tuesday Shoesday Inspiration
Today's Tuesday Shoesday pick was inspired by a recent photo shoot we collaborated on with some fabulous New England Vendors. As seen yesterday on Style Me Pretty, this 'Miss American Pie' theme took on a modern twist with a fun color combination of red and teal. One of our latest shoe obsessions are these canvas & rope pumps that happen to come in our featured colors... and a lot more.
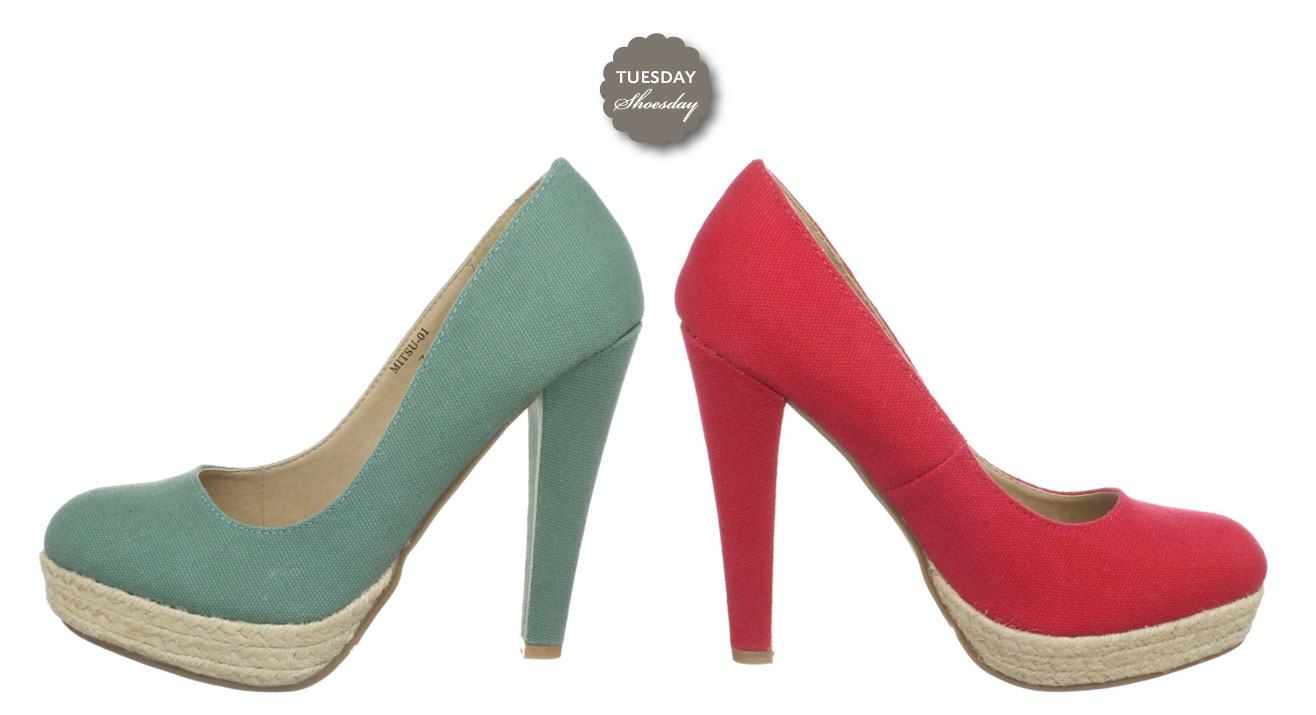
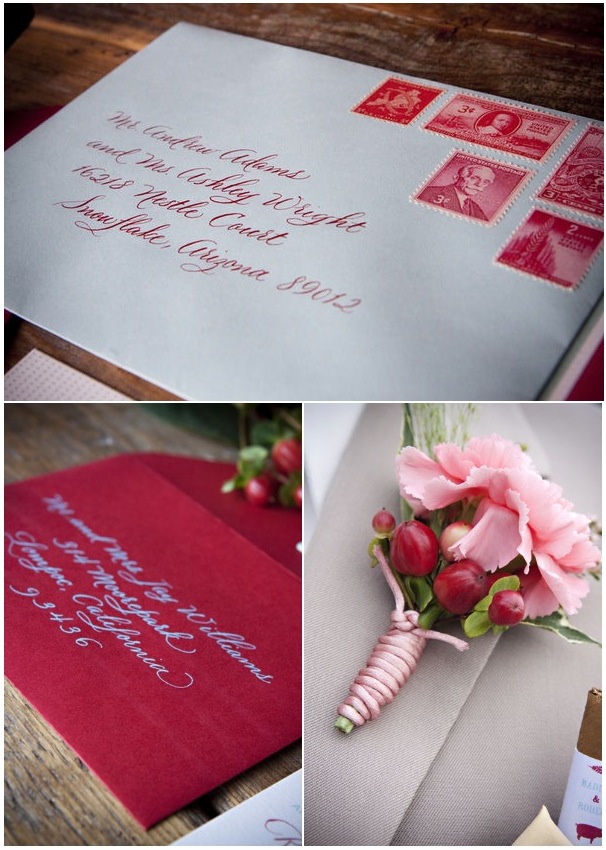
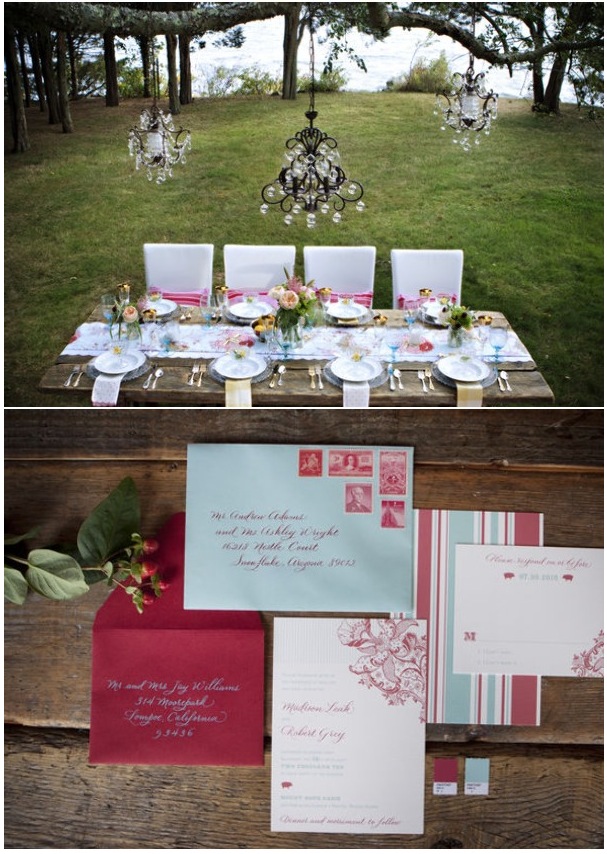
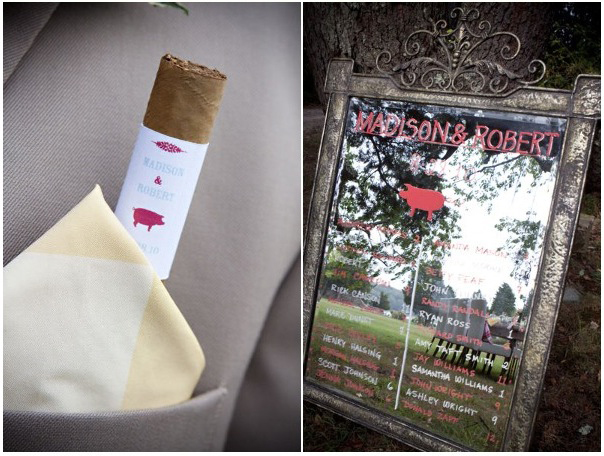
Be sure to see the rest over on SMP!
Credits: Event Planning and Design: Details with Love / Photography: Adeline and Grace Photography / Stationery: Paper Moss / Calligraphy: Megan Chapin Calligraphy / Flowers: Studio 539 Flowers / China & Rentals: Rentals Unlimited / Venue: Mount Hope Farm / Custom Furniture & Linen: Ryan Designs / Hair & Makeup: Jennie Kay Murphy / Wedding Dress: Wedding Belle NYC
Come by and see us on....
Happy Monday! We are really loving today because we have the honor of being featured on both Wed Candy and Style Me Pretty! Please stop by over there and say hello & leave those bloggers some love. Below is a 'behind the scenes' video by the talented Artistic Wedding Group that will give a peek into today's SMP photo shoot. Have a fabulous rest of the day!
Miss American Pie Inspiration Shoot from Artistic Wedding Video Group (F. on Vimeo.
Cherry Blossoms!
Happy Friday!!! What shenanigans do you all have planned this weekend? We're off for a much needed mini-vacay and headed to DC for some relaxation, museum hopping, time with the fam, cherry blossoms and cupcakes! The ladies over at Such Pretty Things had an adorable idea to have a cherry blossom picnic... perhaps we will concoct one of our own?

Have a fabulous weekend!
*Photo courtesy of Such Pretty Things
Thursday Purseday
Spring is coming... it's the last day of March! What better way to Welcome the month of April and prepare for springtime than with a colorful nylon bag and trench coat for those pre-spring showers. Don't mind if I do.
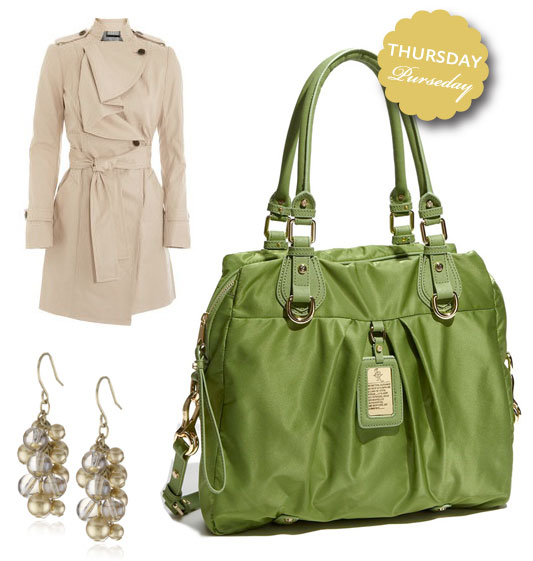
JPK Paris 'Medium' Nylon Travel Bag / Diane von FurstenbergSpy Ruffle Trench Coat / Kenneth Cole New York "Sunset Pearl" Gold Pearl And Cluster Drop Earrings
*Photos courtesy of corresponding websites
Finding the Perfect Dress
Former brides, have we forgotten any important advice below?
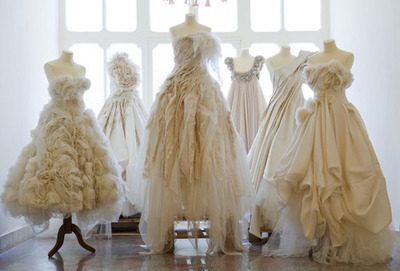
1. Don’t start shopping until you pick a date and reception location. A formal, heavy satin gown will make you wilt at an outdoor resort wedding in August.
2. Do plan a budget for the entire wedding first to help determine how much you can spend on a dress.
3. Don’t get hung up on one dress or style. Another may be far more flattering.
4. Do keep comfort in mind. It’s great to look sexy or dramatic, but make sure the gown will stay in place when you dance, sit, and bend over to greet guests.
5. Don’t go shopping with friends. Their favorite dress isn’t necessarily yours.
6. Do choose the shade of white that most flatters your skin tone.
7. Don’t wear a long, delicate train at a beach or other outdoor wedding. It can get snagged and dirty easily.
8. Do bring a variety of well-fitting bras when shopping for your dress. You’ll get a much better sense of the look and fit of each gown.
9. Don’t wait. Bridal salons say six months before the wedding is ideal, to allow time for ordering and alterations.
10. Do pay for a wedding gown with a charge card rather than a check. If something goes wrong, you’ll have more options for getting your money back.
Happy Shopping!!
*Photo courtesy of Tumblr
Peep Toe Perfection
I'll try my hardest not to overload you with BHLDN items, but it's tough because it's so Paper Moss' style! Regardless, I think you'll enjoy our pick for Tuesday Shoesday. We are big fans of the peep toe style, but these just take it to a whole other level with the puffs of silk and velvet fabric. Perfection.
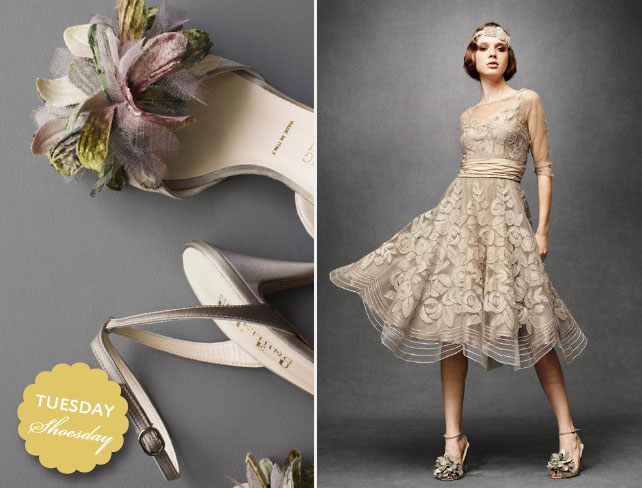 *Photos courtesy of BHLDN
Safari Shoot on Style Me Pretty
We are thrilled to be featured on Style Me Pretty today with some great vendors that we collaborated with on a Safari-inspired photo shoot! See for yourself and leave us some love over there... : ) Happy Monday Everyone!
*Photos courtesy of Laura Ashbrook Photography
Nice napkins!
While prepping for a little get-together several weeks ago, we realized at the last minute that all details were covered - except the napkins. This may sound trite, but everything else was perfectly coordinated and in place! Of course the guests had such a fabulous time that no one noticed, but this definitely inspired us to look into some napkin options for our next soiree.
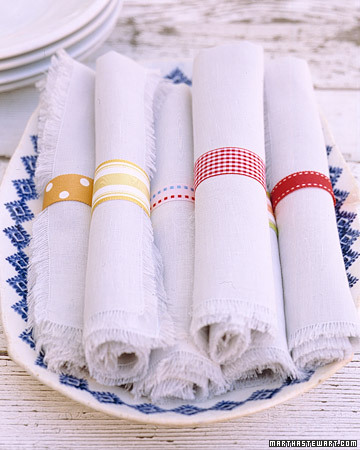
Dress up plan cloth napkins with a variety of ribbon rings.... the options are endless and you can mix and match to fit the event! For each ring, fold a 6-inch length of fabric ribbon in half, right sides facing, and sew ends together with a 1/4-inch seam allowance. Turn the rings right side out, and slip them around rolled napkins.
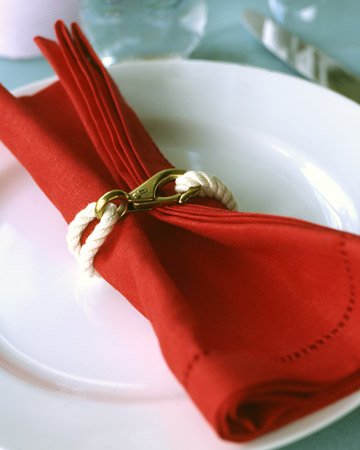
Use boat snaps (available at boating stores) and an off-white cord to make these super cute nautical napkin rings! {Make them}
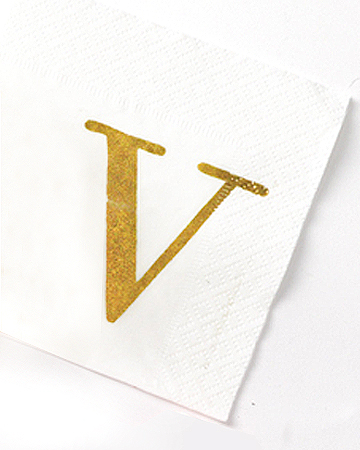
Make an instant monogram with metallic ink and rubber stamps. What a simple and chic way to spice up paper napkins!
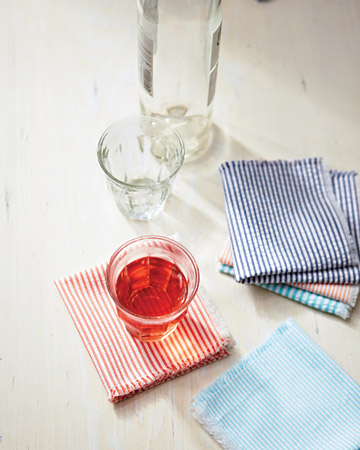
Seersucker makes us giddy. So do parties... what a perfect combination! The classic fabric is inexpensive and available at almost any cloth store, so you can mix and match a few colors and make 'em yourself!
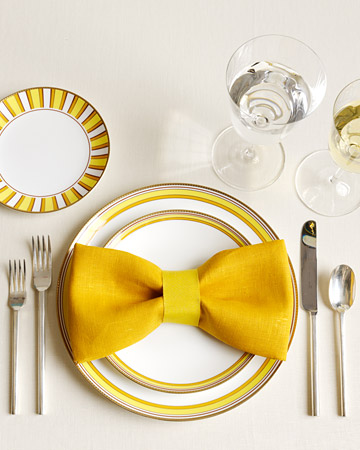
For a sit down dinner, this bow is such a fun way to class up the setting. Here's how to make it happen: spread a dinner napkin out, lying flat. Fold opposite sides in so they meet at the center. Then fold again at the center to form a narrow, ribbonlike shape. Next, fold short ends in so they meet at the center. Cinch in the middle with a ribbon in a coordinating color, and glue at back.
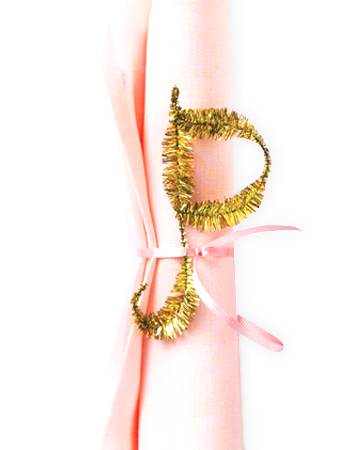
A childhood craft favorite gone classy: metallic or colorful pipe cleaners! Twist them into letters to make monogramed accessories for napkin rings. How cute are these??
Check out more of Martha's napkin ideas here.
*Photos courtesy of Martha Stewart
tgif
Thank goodness its FRIDAY!!! We've been waiting patiently for this day... and so have you. Well congratulations friends, we made it through to the weekend. What fun adventures do you have planned??
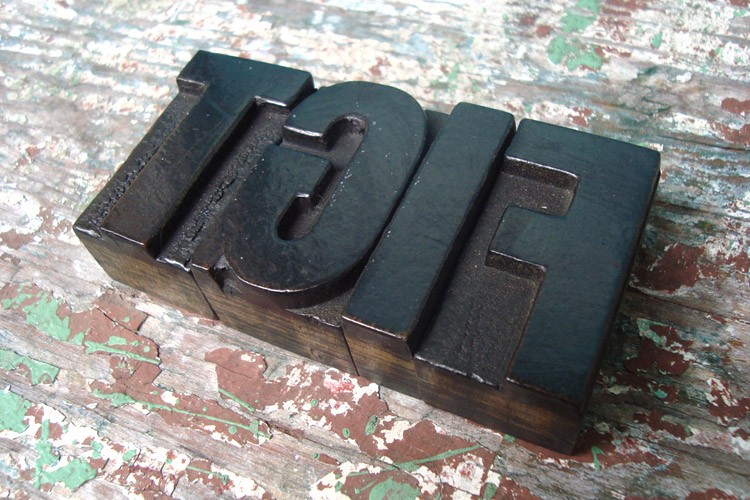
We're already dreaming of brunch tomorrow, where yet again we will battle the dilemma of going with something sweet or something savory. OH the difficult decisions that weekends hold!!!
*Photo courtesy of Letter Happy
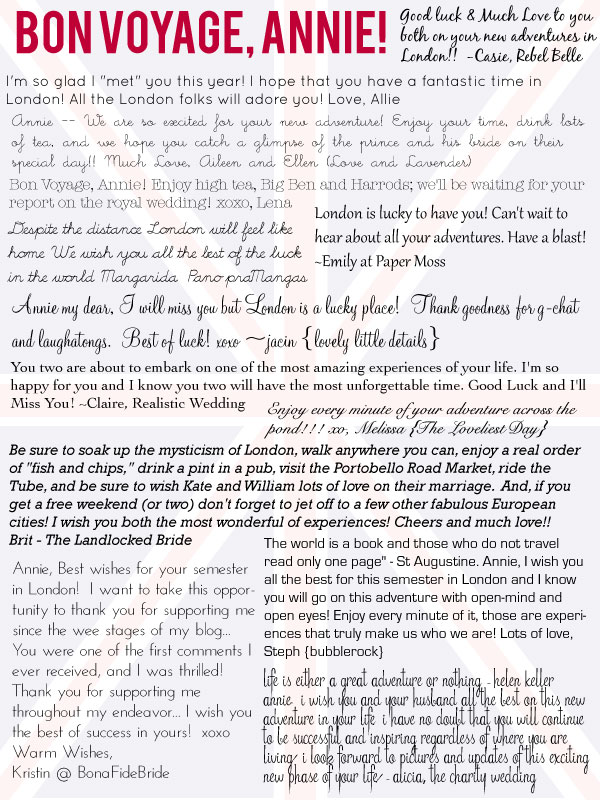
Bon Voyage! {post 1 of 2 for today}
This morning we are having a 'virtual send off' for our dear Annie of the fabulous blog Marry You Me as she embarks to some time living abroad in London! We can only imagine the inspiration that her new home will bring her {we are a bit jealous} but wish her all the best. Do lots of shopping at Harrods and Top Shop for us, will you?
Thursday Purseday with Plumo
Link those cuffs!
French cuffs: the words go together perfectly. While it's not the cuffs that matter {but rather the man inside the shirt} we can't deny our love for the options and splash of personality that cuff links can provide. What a fun way to add another element of customization to a wedding! Have you seen all of the options available??! A fabulous gift for your groom-to-be? Perhaps a little groomsmen gift? Here are some of our favorite sweet & classic ideas for a wedding, but don't stop here, browse on!!

{via Neiman Marcus}

{via THOMAS PINK}
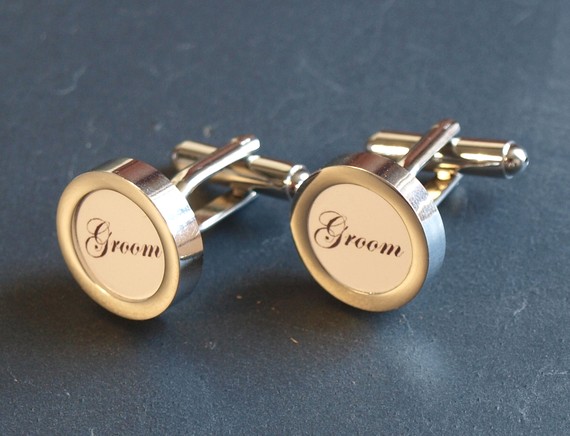
{via Urban Eye}

{via Bragging Bags}
We couldn't leave out one of our favorite couples, Kaitlyn & Ben who's gorgeous wedding was featured on SMP as it boasted some fabulous details, including his bulldog cufflinks from Banana Republic!
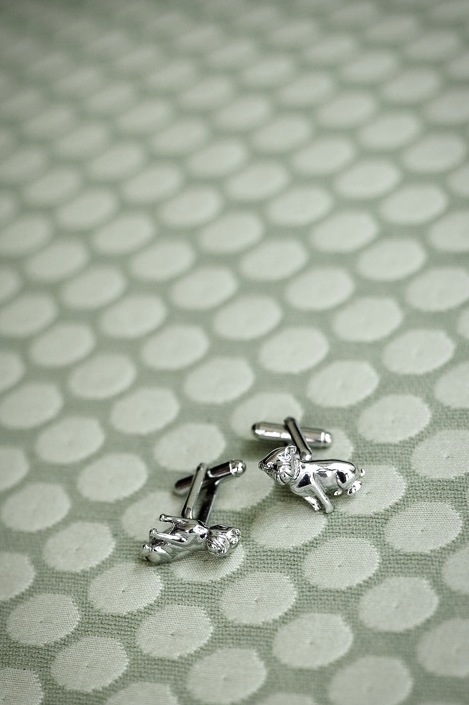 {via Laura Ashbrook Photography}
*Photos courtesy of respective sites
 {
{ {
{

 Thanks to Pinterst, I stumbled upon this gorgeous leather satchel by a European designer named